
Can You Replace a Fiberglass Shower With Tile in the Same Space?
You can replace a fiberglass shower with tile in the same space, but it’s not a simple swap. You’ll need to cut out and dispose of the fiberglass unit, assess your subfloor and wall framing for structural integrity, and install proper waterproofing before a single tile goes up. Plumbing adjustments may likewise be required. Costs range from $1,500 to over $7,000 depending on materials. Everything you need to plan this project correctly is covered ahead.
Key Takeaways
- Yes, a fiberglass shower can be replaced with tile in the same space after removing the unit by cutting it into sections.
- The subfloor must be rigid, level, and rot-free to support the added weight of tile.
- Cement board or a waterproof membrane system must replace any standard drywall behind the fiberglass.
- Existing plumbing can often remain in place, minimizing additional costs during the tile installation.
- Tile showers cost more upfront than fiberglass but offer greater durability and long-term value.
What It Actually Takes to Remove a Fiberglass Shower
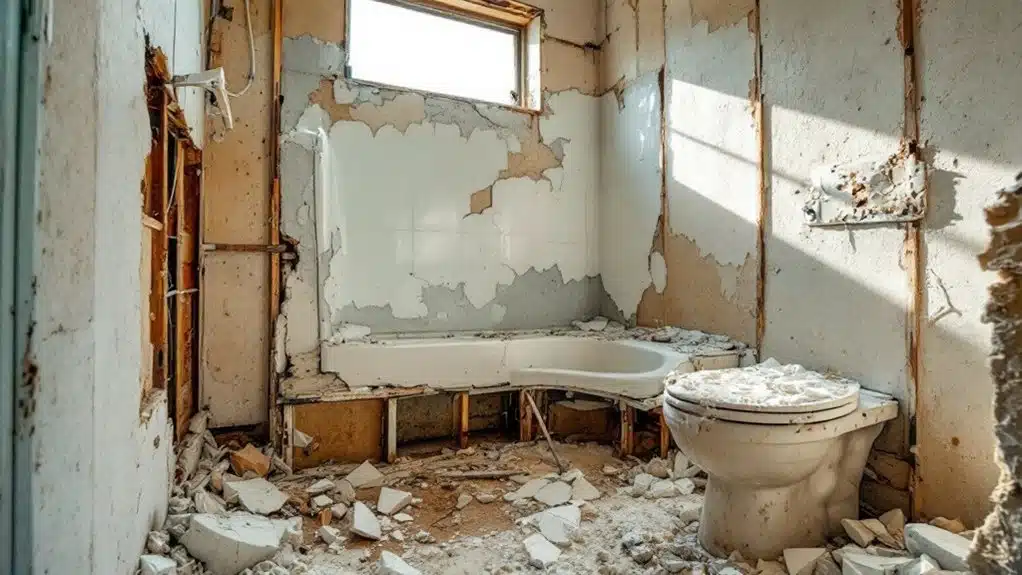
Removing a fiberglass shower isn’t as simple as pulling it out in one piece—most units are installed before the surrounding walls are finished, making extraction a destructive process. You’ll typically need to cut the unit into manageable sections using an oscillating tool or reciprocating saw—both crucial removal tools for this job. Expect to damage surrounding drywall, tile, or greenboard in the process, so plan for wall repairs before installing your new tile system. You’ll likewise need to disconnect plumbing fixtures and cap supply lines before cutting begins. Once sectioned, disposal options include curbside bulk pickup, a rented dumpster, or drop-off at a local recycling or waste facility. Budget time for debris cleanup, as fiberglass shards require careful handling to protect both you and your clients. After removal, proper subfloor preparation is essential to ensure the substrate is structurally sound, rigid, level, smooth, and dry before tile installation begins.
Does Your Bathroom Structure Support a Tile Shower?
Once the fiberglass unit is out and the space is exposed, you’ll face a more consequential question: can your bathroom’s existing structure actually support a tile shower? Tile is markedly heavier than fiberglass, so you’ll need to assess your floor’s load capacity before proceeding.
Start by examining the subfloor. It must be rigid, level, and free of rot or flex. Deflection is tile’s enemy—any movement will crack grout and eventually the tile itself. Standard installations require a subfloor assembly capable of handling the added dead load without compromise.
You’ll additionally need to evaluate wall framing for structural integrity. Studs must be plumb, properly spaced, and solid enough to anchor cement board and tile without shifting over time. Working with professional installation experts ensures your structural assessment is thorough and your tile shower will be properly supported for years to come.
Waterproofing: The Step Most DIYers Get Wrong
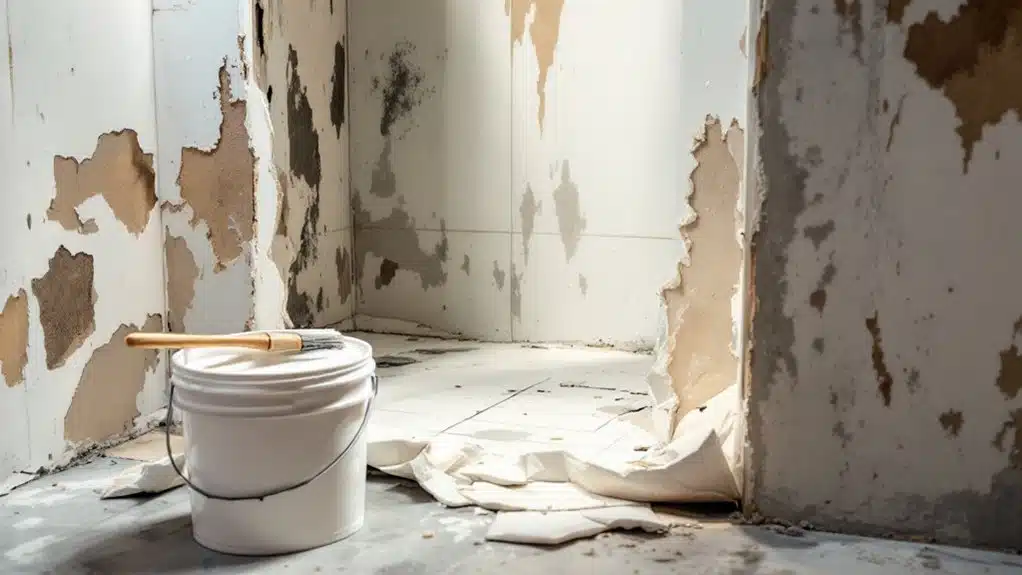
With your structure confirmed, waterproofing becomes the most critical—and most frequently botched—phase of the entire installation. DIYers often rush this stage, undermining the entire project. Proper waterproofing techniques prevent costly moisture damage behind walls and under floors.
Common mistakes include:
- Skipping the pan liner: A sloped mortar bed with a proper liner is non-negotiable beneath tile floors
- Using drywall as a backer: Standard drywall deteriorates rapidly; use cement board or a waterproof membrane system instead
- Incomplete seam sealing: Every corner, seam, and penetration requires fabric mesh tape embedded in waterproofing membrane
- Relying solely on grout: Grout isn’t waterproof—your membrane does the actual protective work
Apply your chosen membrane system—sheet membrane or liquid-applied—methodically, letting each coat cure fully before proceeding. Consider investing in a comprehensive waterproofing system designed specifically for tile showers to ensure long-term protection against mold and mildew.
How to Work With Your Existing Plumbing Layout
Your waterproofing membrane is set and cured—now your plumbing layout determines how much of your existing infrastructure you can keep versus what needs relocating. Smart layout considerations minimize plumbing adjustments and reduce project costs markedly.
| Plumbing Element | Recommendation |
|---|---|
| Showerhead position | Keep existing height when possible |
| Valve location | Maintain current placement to avoid repiping |
| Drain position | Center drain requires subfloor modification |
| Supply lines | Copper stays; galvanized needs replacement |
| Pressure-balance valve | Upgrade during tile installation phase |
Assess your drain alignment first—tile floors demand precise slope calculations toward a fixed drain point. If your fiberglass unit had an off-center drain, you’ll need a linear drain or subfloor rerouting. Your valve rough-in typically remains serviceable, saving you substantial labor expense.
Tile Shower Costs vs. Fiberglass Replacement
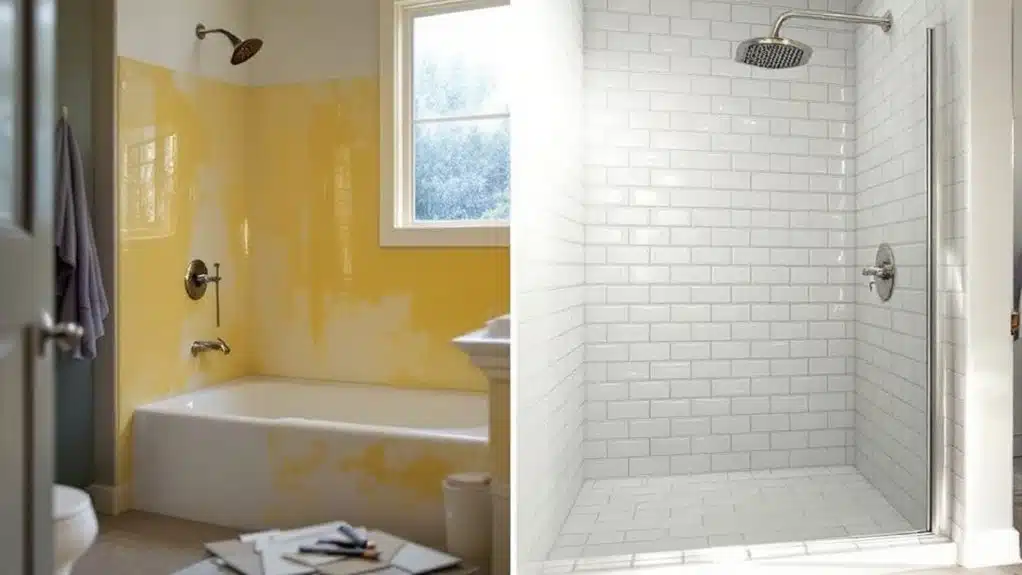
Before committing to a tile shower conversion, you’ll want a clear picture of what you’re spending versus what a fiberglass replacement actually costs.
Fiberglass units typically run $500–$1,500 installed. Tile showers vary greatly based on tile materials and installation techniques chosen:
- Fiberglass replacement: $500–$1,500 total, faster turnaround, minimal labor
- Basic tile shower: $1,500–$3,000, using ceramic tile materials and standard installation techniques
- Mid-range tile: $3,000–$7,000, porcelain tile materials with waterproof membrane installation techniques
- Custom tile shower: $7,000–$15,000+, natural stone tile materials and advanced installation techniques
Tile costs more upfront, but it adds lasting value, durability, and design flexibility. If you’re helping clients maximize long-term return, tile consistently outperforms fiberglass in resale value and structural longevity.
Frequently Asked Questions
How Long Does a Tile Shower Installation Typically Take to Complete?
You’ll typically complete a tile shower installation in 3-5 days. Your installation timeline includes prep, setting tile, and grouting. Factor this into your project planning to minimize disruption for those depending on bathroom access.
Can I Install a Tile Shower Myself Without Professional Help?
Like a craftsman shaping their legacy, you can tackle this yourself. With the right DIY tips and installation tools—trowel, level, and tile cutter—you’ll successfully install your tile shower, transforming your bathroom with skilled, confident hands.
What Tile Sizes Work Best for Small Shower Spaces?
For small shower spaces, you’ll want to choose small tile options like 2×2 or 3×3 inch mosaic tiles. They’re easier to cut and fit, and textured tiles improve grip, ensuring safety for those you serve.
How Do I Choose Grout Color for My New Tile Shower?
Choose grout color using color theory principles: contrast highlights tile shape, while matching tones unify the space. You’ll simplify grout maintenance by selecting mid-tone grays, which effectively conceal staining and minimize discoloration over time.
Will a Tile Shower Increase My Home’s Resale Value Significantly?
The ball’s in your court—you’ll boost resale potential markedly with a tile shower. Aligning with current market trends, you’re adding durable, high-quality value that today’s buyers actively seek, making your investment worthwhile.
Conclusion
So you’ve survived the crash course: demo, structure, waterproofing, plumbing, and the brutal math of tile costs. Congratulations — you’re now dangerously informed. Yes, you can replace that fiberglass shower with tile, provided you haven’t skipped the “boring” parts like waterproofing membranes and subfloor integrity. Skip those, and you’re not building a tile shower — you’re building an expensive mold habitat. Do it right, and you’ll have a shower that outlasts your mortgage.