
Can Cracked Floor Tiles Be Replaced Without Retiling the Whole Room?
You can replace a single cracked floor tile without retiling the entire room, but success depends on a few key factors. The surrounding tiles must be stable, the substrate beneath can’t be compromised, and you’ll need to source a matching replacement. If those conditions are met, careful removal and reinstallation can restore your floor seamlessly. Stick around to learn exactly how to assess, source, and execute this repair correctly.
Key Takeaways
- Cracked floor tiles can often be replaced individually, making full room retiling unnecessary if surrounding tiles remain stable and undamaged.
- Tapping adjacent tiles for hollow sounds helps determine whether isolated replacement or broader intervention is required.
- Matching replacement tiles can be sourced from leftover stock or tile suppliers, though color and texture must align closely.
- Careful grout scoring, drilling, and chiseling allows single-tile removal without disturbing neighboring tiles.
- Full retiling becomes necessary when subfloor damage, discontinued patterns, or widespread cracking affects 20% or more of tiles.
Can You Really Replace Just One Cracked Floor Tile?
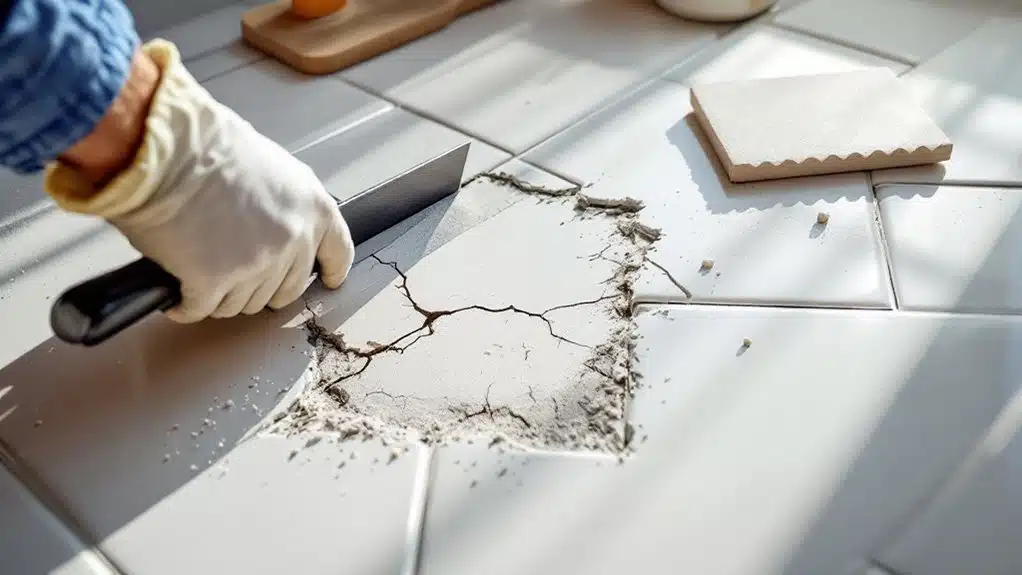
Yes, you can replace just one cracked floor tile — but only if you can source a matching tile and execute the removal without damaging the surrounding ones. Your tile repair options depend heavily on two factors: tile availability and substrate condition. If the tile’s batch is discontinued, color-matching becomes difficult, and mismatched replacements create visual inconsistencies your clients will notice immediately. Cost considerations as well matter — single-tile repairs are far more affordable than full regrouting or room-wide retiling, making them a practical first choice. Nevertheless, if the subfloor beneath the cracked tile is compromised, you’re dealing with a structural issue that expands the scope of work. For optimal results, consider hiring a professional flooring specialist who can assess both the surface damage and underlying conditions before committing to a localized repair strategy. Assess both the surface damage and underlying conditions before committing to a localized repair strategy.
How to Tell If a Tile Can Be Replaced on Its Own
Before committing to a single-tile replacement, you’ll need to assess whether the damaged tile is actually a candidate for isolated removal. Start your tile condition assessment by tapping adjacent tiles with a coin or screwdriver handle. A hollow sound indicates the adhesive bond has failed beneath the surface, meaning neighboring tiles are compromised and you’re likely facing a wider repair.
Next, evaluate the crack pattern itself. Surface-only hairline cracks often signal a repair vs. replace decision favoring replacement, while widespread cracking across multiple tiles points to a subfloor issue requiring broader intervention. Additionally, confirm the tile isn’t load-bearing within a larger failing section. If surrounding tiles are sound and stable, isolated replacement is both feasible and structurally appropriate. The good news is that tile is cost-effective to replace, so even if you need to address multiple tiles, you won’t face prohibitive expenses compared to other flooring materials.
Finding a Matching Replacement Tile (Without Losing Your Mind)
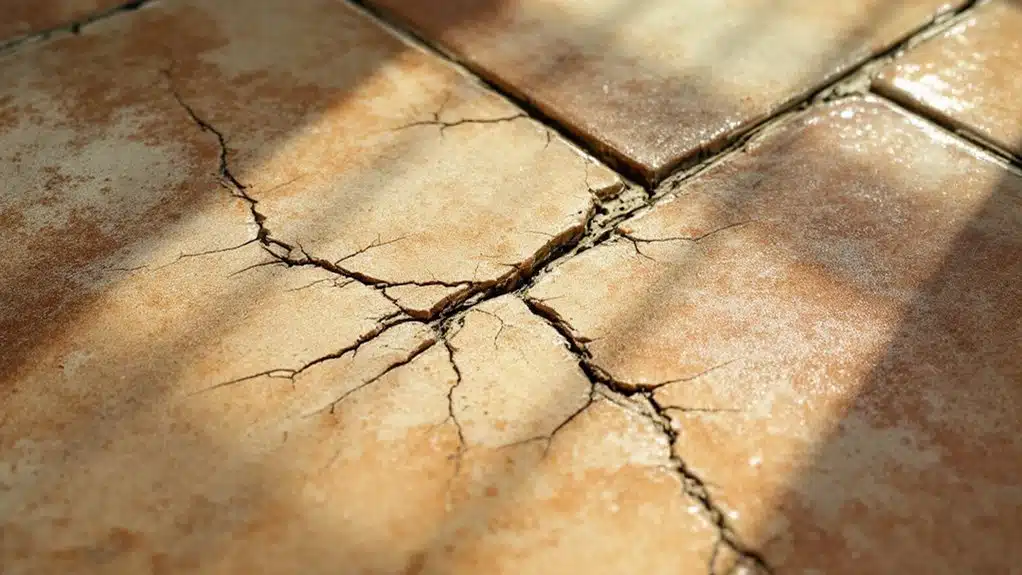
Finding a matching replacement tile is often the most frustrating step in the entire repair process, but a methodical approach cuts through the guesswork. Start by checking your attic, garage, or storage areas for leftover tiles from the original installation. If you find none, remove the cracked tile carefully and bring it to a tile supplier for direct comparison.
Tile color matching requires evaluating the sample under multiple lighting conditions, since showroom lighting distorts true color. Don’t rely on memory or photos alone. Tile texture considerations are just as critical—run your fingers across both tiles and compare surface profiles side by side. Manufacturers discontinue lines frequently, so check salvage stores and online marketplaces if standard suppliers come up empty. Document your tile’s dimensions, finish, and manufacturer markings before shopping. Consider exploring eco-friendly flooring options like stained concrete or luxury vinyl plank if your original tile style is truly unavailable, as these alternatives can refresh your space while maintaining durability and aesthetic appeal.
How to Remove and Replace a Cracked Floor Tile Step by Step
Once you’ve got your replacement tile in hand, the removal process begins with protecting the surrounding tiles from collateral damage. Apply masking tape along adjacent grout lines before starting.
Follow these tile removal techniques precisely:
- Score the grout lines using a grout saw or oscillating tool.
- Drill multiple holes into the cracked tile’s center to relieve tension.
- Chisel outward from the center, working carefully toward the edges.
- Scrape the substrate clean, removing all old adhesive and debris.
- Apply fresh thinset mortar evenly using a notched trowel.
- Set the replacement tile, pressing firmly and checking levelness.
- Follow grout replacement tips by waiting 24 hours before grouting, then sealing within 72 hours.
When Individual Tile Replacement Won’t Cut It
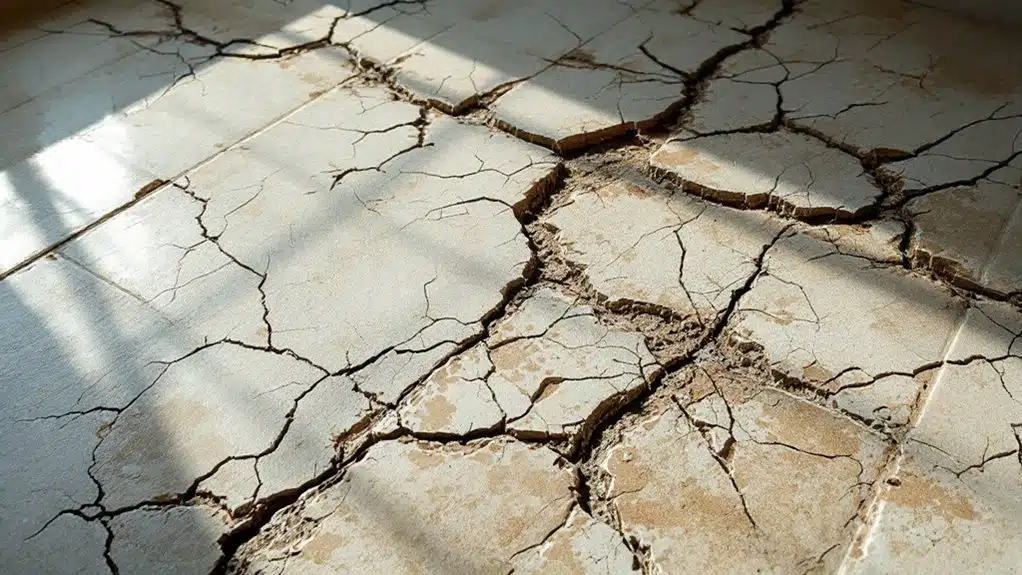
Sometimes, individual tile replacement isn’t the right call—and recognizing when to escalate is just as critical as knowing how to swap a single tile. Widespread cracked tiles, subfloor damage, or discontinued tile patterns can make isolated repairs ineffective or visually inconsistent. In these cases, broader flooring solutions become necessary.
Watch for these situations where full-scale tile maintenance or replacement is the smarter path:
- Subfloor compromise – If cracked tiles span multiple areas, the subfloor may be structurally failing, making spot repairs temporary at best.
- Pattern discontinuity – Discontinued tile styles leave no matching repair options, resulting in mismatched aesthetics.
- Widespread cracking – Cracks affecting 20% or more of your floor indicate systemic movement requiring complete re-installation.
Assess honestly before committing to partial repairs.
Frequently Asked Questions
How Long Does Grout Need to Dry After Replacing a Single Tile?
After tile replacement, you’ll need to let grout drying occur for 24–72 hours before walking on it. Don’t rush the process—humidity and grout type affect curing time, so always check the manufacturer’s specific recommendations.
Can Cracked Floor Tiles Cause Injury or Become a Safety Hazard?
Like a medieval booby trap, cracked floor tiles pose serious safety concerns. You’ll face real injury risks from sharp edges that can cut feet and unstable surfaces that can cause dangerous trips and falls.
Does Homeowners Insurance Ever Cover Cracked Floor Tile Replacement Costs?
Your homeowners insurance policies may cover cracked tile replacement if sudden damage caused it, but you’ll need to verify your coverage limits, as gradual wear-and-tear typically won’t qualify for reimbursement under standard plans.
Are There Professional Services That Specialize in Single Tile Replacement?
Yes, you’ll find professionals who specialize in single tile replacement. They’ll provide targeted tile repair options, ensuring minimal disruption. Following their flooring maintenance tips helps you serve clients effectively, preserving tile integrity without unnecessary full-room retiling projects.
Can Cracked Tiles Negatively Affect a Home’s Resale Value?
Like a blemish on a masterpiece, cracked tiles can hurt your home’s resale implications. They trigger aesthetic concerns that buyers notice immediately, so you’ll want to address them promptly to protect your property’s market value effectively.
Conclusion
Yes, you can replace a single cracked tile without retiling the entire room — and it’s worth doing promptly. According to the Tile Council of North America, improper subfloor prep causes over 60% of tile failures, meaning your replacement will fail fast if you don’t address the underlying cause first. Follow each removal and installation step precisely, match your grout color carefully, and you’ll restore your floor’s integrity without the cost of a full renovation.