How We Build Custom Tile Showers That Last for Decades
We build custom tile showers that last for decades by focusing on your vision and using high-quality materials like porcelain and natural stone. Accurate measurements guarantee a perfect fit, while a solid foundation with waterproof backers and sloped mortar layers supports durability. Expert waterproofing techniques prevent leaks, and we carefully install fixtures and accessories for maximum functionality. Through precise grouting and sealing, we secure long-lasting performance. Uncover the details of our meticulous process and its benefits ahead.
Key Takeaways
- We use premium materials like porcelain and natural stone, ensuring durability and resistance to scratches and stains.
- A solid foundation, including a sloped mortar bed and moisture barriers, supports the tile installation and enhances longevity.
- Accurate measurements and high-quality tools prevent installation mistakes, ensuring tiles fit perfectly without gaps.
- Effective waterproofing systems, including sealants and specialized grouts, protect against water damage and mold growth.
- Regular maintenance, including cleaning and prompt repairs, preserves the shower’s integrity and extends its lifespan.
Understanding Your Vision

How do you envision your ideal shower experience? Achieving vision clarity is crucial to creating a space that resonates with your needs. Start by considering your design inspiration—think about textures, colors, and patterns that evoke a sense of tranquility. Visualize how each tile interacts with water, light, and space.
You’ll want to reflect on functionality as well. Does your ideal shower include multiple showerheads or built-in storage? Each decision contributes to not just aesthetics, but furthermore practicality. Additionally, our team specializes in custom tile shower installations to ensure your vision becomes a reality.
Selecting High-Quality Materials
Once you’ve refined your vision for the ideal shower experience, the next step is selecting high-quality materials that reflect your style and withstand daily use. Opt for premium tile options, such as porcelain or natural stone, which not only improve aesthetics but also offer durability. These materials are resistant to scratches and stains, ensuring a long-lasting finish. Furthermore, incorporate moisture-resistant materials in your shower’s construction, such as waterproof backer boards and specialized grouts. This combination prevents mold and mildew growth, maintaining a healthy environment. By prioritizing quality, you’ll create a stunning, functional space that endures years of use, providing comfort and elegance for you and your guests. Additionally, using Schluter waterproofing products will enhance the longevity of your installation. Choose wisely; your investment will pay off in both beauty and longevity.
The Importance of Proper Measurements

When you’re planning a custom tile shower, accurate measurements are essential. They guarantee that your tiles fit perfectly and help you avoid costly mistakes during installation. Taking the time to measure correctly will save you both time and money in the long run. Additionally, ensuring that the subfloor is structurally sound is crucial for a lasting installation.
Accurate Dimensions Matter
Accurate dimensions are crucial in creating a custom tile shower that not only fits seamlessly into your space but likewise improves its overall aesthetic. Proper measurements guarantee you avoid unsightly gaps and achieve a polished look. To achieve precision, follow these steps:
- Use measuring tools: Invest in high-quality measuring tapes, levels, and squares to capture accurate dimensions.
- Incorporate design software: Utilize software to visualize your shower layout, allowing for adjustments before installation.
- Double-check measurements: Always verify your dimensions multiple times to confirm consistency and accuracy.
Avoiding Costly Mistakes
Failing to take precise measurements can lead to costly mistakes in your custom tile shower project. Inaccurate dimensions often result in design pitfalls, such as misaligned tiles and improper drainage, which not only compromise aesthetics but likewise functionality. When you neglect proper measurements, you risk facing budget overruns as a result of unexpected modifications or additional materials needed to correct errors. Start by measuring all relevant areas, including walls, floors, and fixtures, and double-check your figures. Consider the thickness of tiles and additional layers, like waterproofing, which may alter final dimensions. By meticulously documenting and verifying your measurements, you’ll avoid complications, ensuring your shower is both beautiful and durable, ultimately serving your clients’ needs without unnecessary expenses.
Creating a Solid Foundation
To guarantee your custom tile shower stands the test of time, it’s crucial to create a solid foundation. This foundation not only supports the weight of the tiles but likewise guarantees the structural integrity of your shower. Here are three key foundation materials to evaluate:
- Cement Board: This water-resistant material provides a sturdy base that prevents moisture damage.
- Mortar Bed: A sloped mortar bed allows for proper drainage, reducing the risk of water pooling.
- Polyethylene Sheeting: This acts as a moisture barrier, protecting underlying structures from water infiltration.
Expert Waterproofing Techniques
When it comes to waterproofing your custom tile shower, employing expert techniques can make all the difference in durability and performance. Key components include effective drainage systems and robust moisture barriers. Properly installed drainage systems guarantee that water flows away efficiently, reducing the risk of leaks. Similarly significant, moisture barriers protect the underlying structures from water damage.
Here’s a quick overview of key waterproofing components:
| Component | Purpose | Installation Tips |
|---|---|---|
| Drainage Systems | Directs water away | Slope floor towards the drain |
| Moisture Barriers | Prevents water infiltration | Install behind tiles and fixtures |
| Sealants | Provides additional protection | Apply around edges and joints |
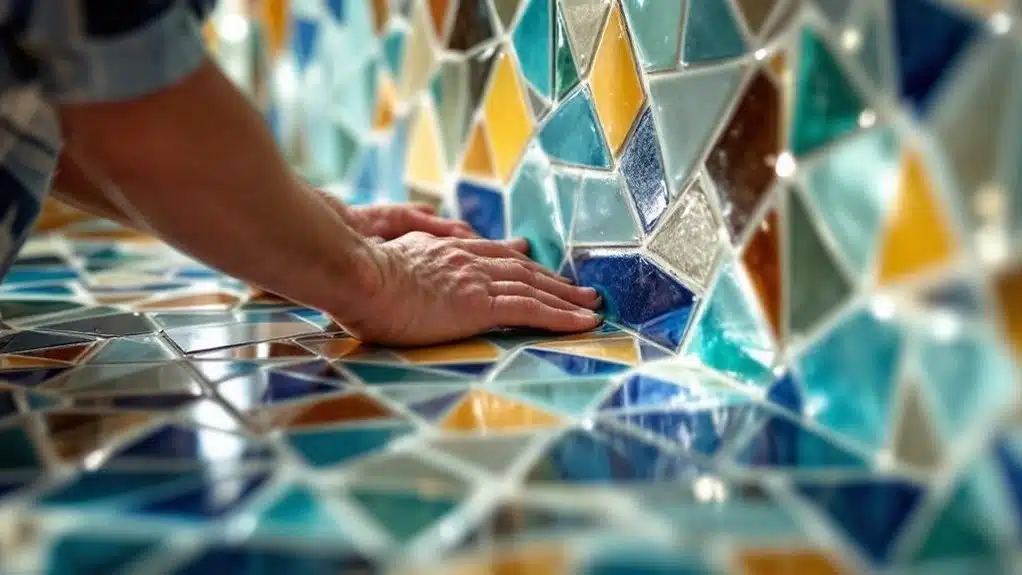
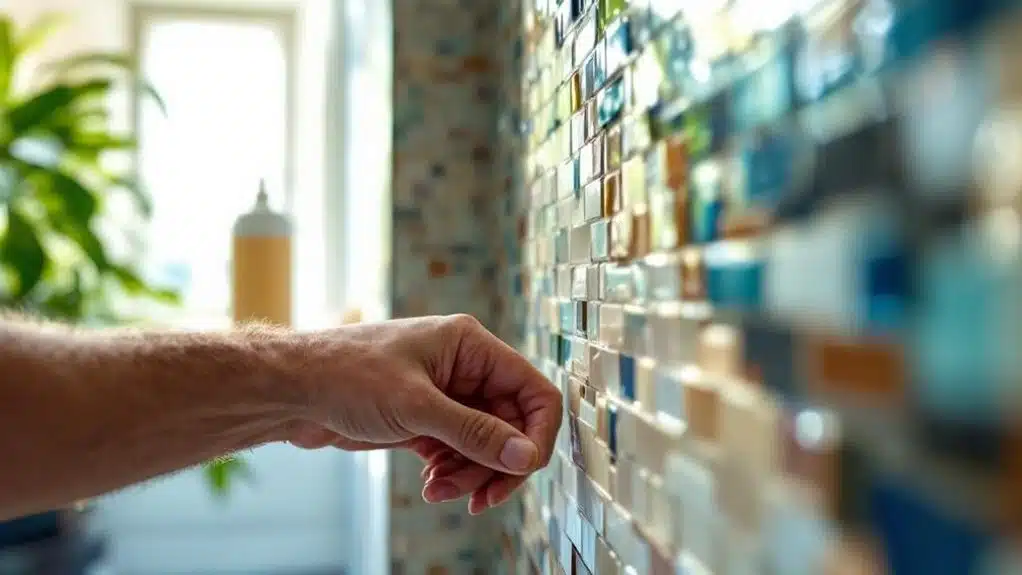
Customizing Tile Layout and Design
Customizing the tile layout and design in your shower can transform the space into a stunning focal point, while furthermore enhancing functionality. By selecting the right tile patterns and color schemes, you can create a unified environment that reflects your style and serves your needs.
Here are three key considerations for your shower design:
- Tile Patterns: Choose from classic subway tiles or intricate mosaics to achieve the desired look and texture.
- Color Schemes: Opt for a harmonious palette that complements your overall bathroom decor, ensuring a serene atmosphere.
- Layout Design: Consider vertical or horizontal placements to influence visual space, making your shower feel larger or more intimate.
These elements work together to create a beautiful, lasting tile shower.
Installation of Fixtures and Accessories
When installing fixtures and accessories in your custom tile shower, it’s essential to choose durable materials that withstand moisture and wear. You’ll need to apply proper installation techniques to guarantee a secure fit and prevent leaks. Furthermore, consider accessory placement carefully to optimize both functionality and aesthetic appeal.
Choosing Durable Fixtures
Choosing durable fixtures for your custom tile shower is crucial, as these components not only impact functionality but also influence the overall aesthetic. When selecting fixtures, consider the following:
- Fixture Materials: Opt for corrosion-resistant materials like stainless steel or brass, ensuring longevity and reducing maintenance needs.
- Fixture Styles: Choose styles that complement your tile design, whether modern or traditional, to improve visual appeal.
- Water Efficiency: Look for fixtures that conserve water without sacrificing performance. Low-flow showerheads can save water and lower utility bills.
Proper Installation Techniques
Proper installation techniques are vital for ensuring the longevity and functionality of fixtures and accessories in your custom tile shower. Begin with meticulous substrate preparation; a properly leveled and moisture-resistant base is fundamental. Use tile leveling techniques to maintain evenness and prevent lippage, ensuring a seamless finish. When installing fixtures, secure them according to manufacturer specifications, using appropriate waterproofing methods to prevent leaks. Pay attention to the placement of screws and anchors, as improper installation can compromise integrity. Furthermore, consider using silicone caulk around edges to seal gaps and protect against water intrusion. By following these precise installation methods, you guarantee that your fixtures and accessories not only improve aesthetics but also serve their purpose effectively for years to come.
Accessory Placement Considerations
To guarantee your custom tile shower functions effectively, thoughtful placement of fixtures and accessories is vital. When evaluating accessory types, you’ll want to confirm they improve usability while maintaining aesthetic appeal. Here are three key placement strategies to contemplate:
- Showerhead Height: Position it at a comfortable height for all users, typically between 72 to 78 inches from the floor.
- Grab Bars: Install these at strategic locations, such as near the entry and in the shower area, making sure they’re within easy reach for safety.
- Shelving and Storage: Place shelves or corner caddies within arm’s reach to hold toiletries, minimizing clutter and maximizing space efficiency.
Implementing these strategies will guarantee your shower remains functional and user-friendly for years to come.
Grouting and Sealing for Longevity
While it might be tempting to overlook grouting and sealing, these processes are essential for ensuring the longevity of your custom tile shower. Choosing the right grout types, such as epoxy or cement-based, can greatly affect durability. After applying the grout, a proper sealant application protects against moisture and stains. Here’s a quick reference table to help you understand the differences:
| Grout Type | Advantages | Recommended Sealant |
|---|---|---|
| Epoxy | Waterproof, stain-resistant | No additional sealing |
| Cement-based | Cost-effective, versatile | Silicone sealant |
| Unsanded | Ideal for narrow joints | Penetrating sealer |
| Sanded | Stronger for wider joints | Surface sealer |
| Furan | Chemical resistance | Special furan sealant |
Final Inspections and Adjustments
Once you’ve completed the grouting and sealing, it’s essential to conduct thorough quality control measures to guarantee everything meets your standards. You’ll want to address any final touch-up details, checking for consistency in color and texture. Moreover, implementing performance testing procedures will confirm that the water flow and drainage function as intended.
Quality Control Measures
When it comes to custom tile showers, implementing stringent quality control measures during final inspections and adjustments is essential to guarantee a flawless finish. By adhering to established inspection protocols, you ascertain that every detail meets high standards of quality assurance. Here are three key measures you should follow:
- Surface Evaluation: Check for any uneven tiles or grout lines; these can compromise aesthetics and functionality.
- Waterproofing Verification: Inspect all seals and waterproof membranes to prevent leaks and water damage.
- Fixture Alignment: Confirm all fixtures, such as faucets and showerheads, are properly aligned and securely installed.
Final Touch-Up Details
To guarantee your custom tile shower meets your expectations, conducting final touch-ups during inspections and adjustments is crucial. During the final inspection, you’ll closely examine grout lines, tile alignment, and caulking to verify everything is visually appealing and functional. Utilize touch-up techniques like applying silicone caulk to any gaps and regrouting areas that may need it. Pay special attention to corners and edges, where imperfections can stand out. If any tiles show signs of damage, replace them immediately to maintain the shower’s integrity. Finally, check for proper drainage and confirm fixtures are securely installed. These meticulous details will guarantee your shower not only looks great but likewise serves your clients well for years to come.
Performance Testing Procedures
While final inspections and adjustments are essential for guaranteeing a custom tile shower’s functionality and longevity, implementing structured performance testing procedures can greatly improve the overall quality of the installation. Establishing clear performance benchmarks allows you to evaluate the shower’s durability effectively. Here are three key aspects to focus on during testing:
- Water Resistance: Conduct thorough water tests to confirm no leaks occur, verifying the waterproofing layer’s integrity.
- Tile Adhesion: Perform durability tests on tile adhesion by applying pressure to verify that tiles remain securely in place under stress.
- Drainage Efficiency: Assess the drainage system’s effectiveness to prevent pooling, verifying water flows correctly to avoid potential damage.
Maintenance Tips for Long-Lasting Showers
Proper maintenance is vital for ensuring your custom tile shower remains in excellent condition over time. Regular shower cleaning is important; use a pH-balanced cleaner to avoid damaging grout and tile surfaces. After each use, squeegee the walls and floor to minimize water accumulation, which helps prevent mold growth. Inspect your shower for any signs of leaks or grout deterioration, addressing these issues promptly to avoid larger problems. For mold prevention, consider using a mixture of vinegar and water for occasional deep cleaning, targeting corners and joints where mold tends to flourish. Finally, maintain proper ventilation to reduce humidity levels, promoting a healthier environment for both your shower and your home. Regular attention will keep your shower looking and functioning beautifully for years.
Conclusion
To sum up, building a custom tile shower that lasts decades is all about attention to detail and quality workmanship. By understanding your vision and selecting the right materials, you set the stage for success. Don’t you want a shower that not only looks great but stands the test of time? With expert waterproofing, accurate measurements, and regular maintenance, your investment will provide lasting beauty and functionality for years to come. Welcome the journey to your dream shower today!