
Can LVP Be Installed Over Ceramic Tile Without Removing It?
You can install LVP over ceramic tile without removing it, but only under the right conditions. Your existing tile must be structurally sound, firmly bonded, and free of cracks or loose pieces. The surface can’t vary more than 3/16 inch per 10-foot span. You’ll additionally need to account for the added height affecting doors and thresholds. Keep going to learn exactly what qualifies your tile and how to prepare it correctly.
Key Takeaways
- LVP can be installed over ceramic tile without removal if the existing tile is structurally sound, firmly bonded, and free of cracks.
- The tile surface must be level, with no more than 3/16-inch variation per 10-foot span.
- Grout lines deeper than 1/16 inch must be filled with floor-leveling compound before LVP installation.
- The added height of 4–12mm may require door trimming and transition strips at room boundaries.
- Disqualifying conditions include cracked, loose, or hollow tiles, active moisture issues, or significant lippage.
When Can You Install LVP Over Ceramic Tile?
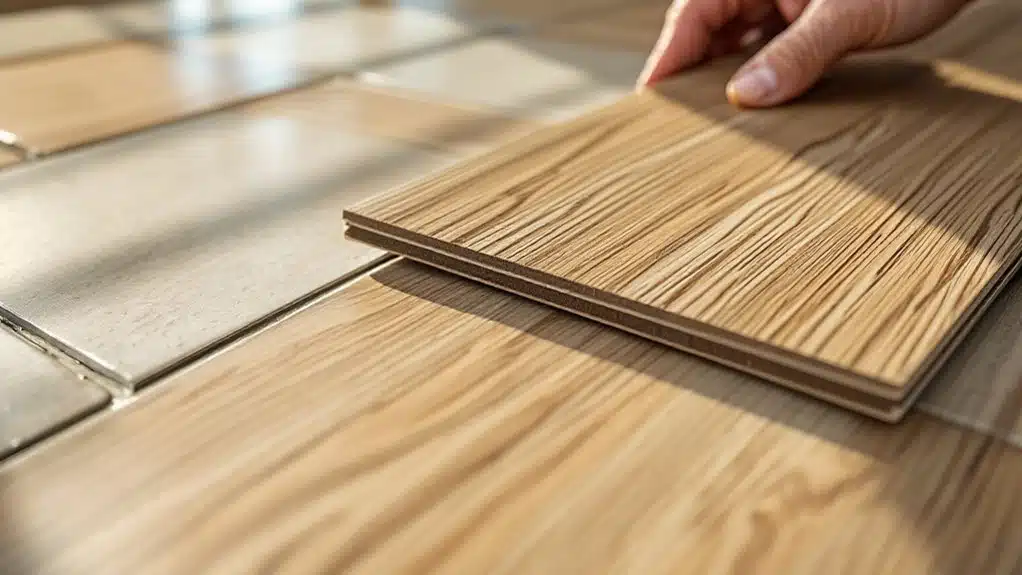
Installing LVP over ceramic tile is possible, but only when specific conditions are met. You’ll need to verify that the existing tile is structurally sound, with no cracked, loose, or hollow tiles. The subfloor beneath must be stable and level, with no more than 3/16 inch variation per 10-foot span.
You can maximize installation benefits by confirming the tile surface is clean, firmly bonded, and free of grout haze or adhesive residue. Check that adding LVP won’t create height conflicts with doors, connections, or appliances. LVP’s water resistance properties make it an excellent choice for areas where ceramic tile was previously installed, particularly in moisture-prone spaces like kitchens and bathrooms.
When these conditions align, you’ll preserve flooring aesthetics while avoiding costly tile removal. Always measure the total floor height increase, typically 4–12mm, to guarantee surrounding elements accommodate the new floor thickness properly.
Tile Conditions That Rule Out Going Over
Certain tile conditions make going over them with LVP a structural and performance risk you shouldn’t take. If your tile surface integrity is compromised—meaning tiles are cracked, hollow, loose, or chipping—you must remove them first. LVP requires a stable, solid substrate. Damaged tiles flex under load, which causes LVP clicks to separate over time.
Moisture concerns are similarly disqualifying. If you detect active moisture transmission through the slab or existing water damage beneath the tile, installing over it traps moisture and accelerates mold growth. Unlike natural stone, which requires regular sealing to maintain water resistance, LVP’s water-resistant properties depend entirely on a dry substrate beneath it.
Additional conditions that rule out overlay installation include:
- Significant lippage exceeding 3/16″ over 10 feet
- Multiple missing tiles creating voids
- Previous adhesive failure indicating substrate bonding issues
- Subfloor deflection beneath the tile layer
How Height Changes Affect Doors and Transitions
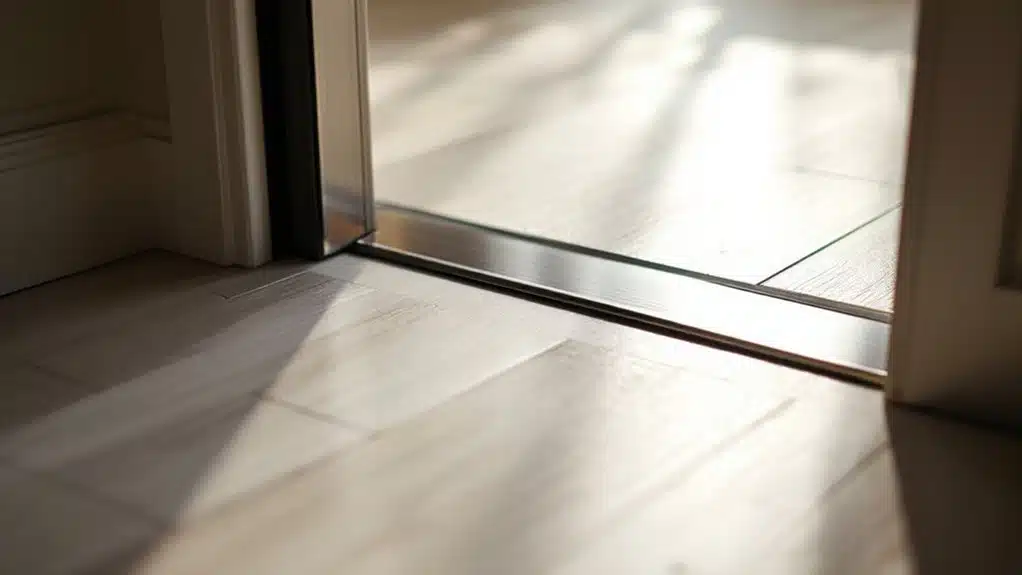
When your tile surface passes inspection and overlay installation is viable, you’ll face a different set of practical challenges—specifically, how adding LVP thickness affects doors, door frames, and floor height changes between rooms.
LVP typically adds 4–8mm of height. That elevation change requires door adjustments—you’ll need to trim door bottoms to maintain proper clearance and prevent binding. Check every door within the installation area before proceeding.
At room boundaries, connection strips bridge height differences between your new LVP surface and adjoining flooring materials. Select the correct strip profile based on the height differential: T-molding for equal heights, reducer strips for unequal surfaces, and threshold strips for exterior doorways. Measuring accurately before purchasing connection strips prevents costly material returns and installation delays. Installing LVP in high-traffic areas means your new flooring should maintain scratch resistance throughout the transition zones to ensure consistent durability across all connected spaces.
Floating vs. Glue-Down LVP Over Tile
Both floating and glue-down methods work over tile, but each suits different conditions, and choosing the wrong one can compromise your installation’s long-term performance.
| Factor | Floating | Glue-Down |
|---|---|---|
| Subfloor Flatness Required | 3/16″ per 10 ft | 1/8″ per 6 ft |
| Cost Comparison | Lower material cost | Higher adhesive cost |
| Installation Methods | Click-lock planks | Pressure-sensitive adhesive |
| Best Tile Condition | Firmly bonded tile | Fully smooth surface |
| Removal Difficulty | Easy, non-destructive | Labor-intensive |
Use floating installation methods over tile with minor grout line variation, as the underlayment bridges small gaps. Choose glue-down when foot traffic is heavy or the space experiences temperature swings. Always verify your LVP manufacturer’s specifications before committing, since some products void warranties if glued over existing tile.
How to Prep Ceramic Tile Before Installing LVP
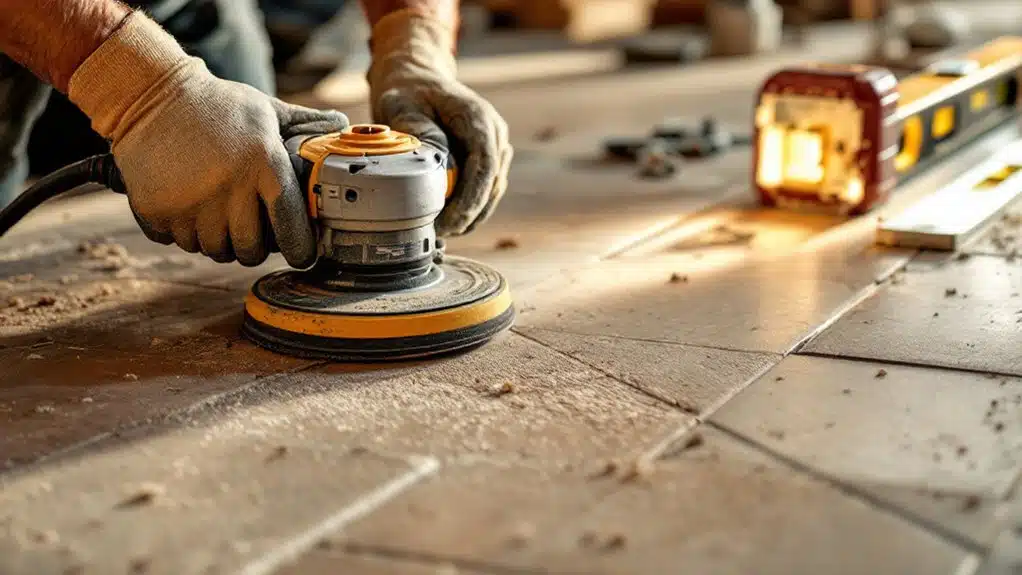
Prepping your ceramic tile correctly determines whether your LVP installation succeeds or fails long-term. Start by inspecting every tile for cracks, loose pieces, or hollow spots. Re-adhere or replace any damaged tiles before proceeding. Next, clean the entire tile surface thoroughly, removing grease, wax, and debris that compromise adhesive options and floating installations alike.
Check grout lines carefully. Lines exceeding 1/16-inch depth require filling with a floor-leveling compound to prevent LVP flexing or cracking over time. Sand down any raised tile edges and confirm the overall floor flatness meets the manufacturer’s 3/16-inch-per-10-foot specification.
Your tile surface preparation likewise includes measuring moisture levels with a concrete moisture meter. Readings exceeding manufacturer thresholds demand moisture barrier installation before laying your LVP. Skipping any step creates long-term failures.
Frequently Asked Questions
How Long Does LVP Typically Last When Installed Over Ceramic Tile?
When installed over ceramic tile, you’ll typically get 15-25 years of LVP durability. Your installation lifespan depends on traffic levels, subfloor stability, and proper tile prep—ensure grout lines won’t telegraph through, compromising long-term performance.
Does Installing LVP Over Tile Affect Home Resale Value?
Who wouldn’t want a cost-effective upgrade? Installing LVP over tile can positively impact your home’s resale value. You’ll align with current resale trends and meet buyer preferences by offering a modern, durable, and visually appealing flooring solution.
Can LVP Be Installed Over Ceramic Tile in Bathrooms?
You can install LVP over ceramic tile in bathrooms, but you’ll need to address key bathroom flooring considerations. Verify ceramic tile compatibility by checking the tile’s levelness and confirming that moisture barriers meet manufacturer specifications before proceeding.
What Tools Are Needed to Install LVP Over Ceramic Tile?
You’ll need a tape measure, utility knife, pull bar, tapping block, rubber mallet, and spacers. Don’t skip surface preparation tools like a floor scraper, and consider underlayment options requiring a moisture meter for accurate assessment.
Does LVP Installation Over Tile Void Flooring Warranties?
Installing LVP over tile can void your warranty if you don’t follow the manufacturer’s installation guidelines. Always check warranty implications beforehand, as most brands require you to meet specific subfloor conditions to maintain coverage.
Conclusion
Installing LVP over ceramic tile can be as straightforward as laying cards on a flat table — if your tile meets the right conditions. You’ll need a level, firmly bonded surface with grout lines no deeper than 3/16″. Check your door clearances, choose the correct installation method, and prep the substrate thoroughly. Skip any of these steps, and you’re setting your new floor up for failure before it even begins.