
Do Toilets Need to Be Removed Before Installing Bathroom LVP?
Removing the toilet before installing LVP isn’t technically required, but it’s almost always the smarter move. Installing around the base creates unsupported planks that flex, separate, and collect bacteria in visible gaps. Removing the toilet lets you run flooring seamlessly beneath it, maintain proper expansion clearance around the flange, and achieve a cleaner, more durable finish. If you want to make the right call for your specific situation, there’s more you’ll want to know.
Key Takeaways
- Removing the toilet before installing LVP is strongly recommended for a seamless, professional finish beneath the toilet base.
- Installing LVP around a toilet creates gaps, flexing risks, and moisture accumulation that compromise long-term flooring performance.
- Toilet removal allows proper expansion gaps around the flange and ensures consistent, uninterrupted flooring across the bathroom.
- Removing a toilet requires shutting off water, disconnecting the supply line, and lifting it straight off the flange bolts.
- Working around the toilet is acceptable in low-traffic areas when budget is limited or flange integrity is a concern.
Should You Remove the Toilet Before Installing LVP?
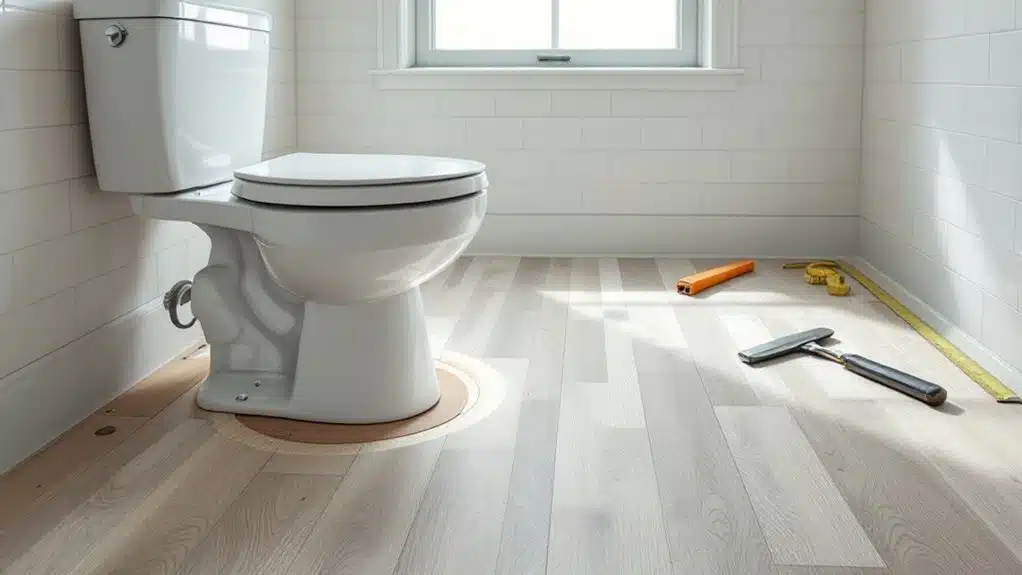
When installing LVP flooring in a bathroom, you’ll need to decide whether to remove the toilet or work around it. Removing the toilet before installation is the recommended approach for most toilet installation scenarios. It allows you to lay planks seamlessly beneath the toilet base, guaranteeing proper flooring maintenance and a cleaner finished result.
Working around the toilet creates gaps, compromises the floor’s structural integrity, and complicates future flooring maintenance tasks. If the toilet remains in place, moisture can accumulate beneath exposed edges, accelerating wear and potential damage. Professional installation requires proper subfloor preparation to ensure the flooring remains structurally sound and resistant to moisture-related issues over time.
For professional results, shut off the water supply, drain the tank and bowl, disconnect the supply line, and remove the toilet completely. This methodical approach guarantees your LVP installation meets long-term performance and durability standards.
Why Installing Around the Toilet Usually Causes Problems
Installing LVP around a toilet instead of removing it creates several structural and aesthetic problems that’ll compromise your floor’s long-term performance. One of the most common toilet installation issues is inadequate support beneath the planks. Without full adhesion or proper locking engagement near the base, planks can flex, separate, or buckle under repeated weight and moisture exposure.
You’ll likewise struggle to achieve clean cuts around the irregular curves of the toilet base, leaving visible gaps that collect bacteria, moisture, and debris. These gaps accelerate edge deterioration and create unsanitary conditions that harm the people using the space.
From an LVP maintenance tips perspective, floors installed around toilets require more frequent repairs and are harder to clean thoroughly. Professional installation ensures proper support and seamless transitions around fixtures, which is why expert consultation for flooring selection is recommended before beginning your bathroom project. Removal before installation simply produces a more durable, hygienic result.
How Removing the Toilet Affects LVP Expansion and Fit
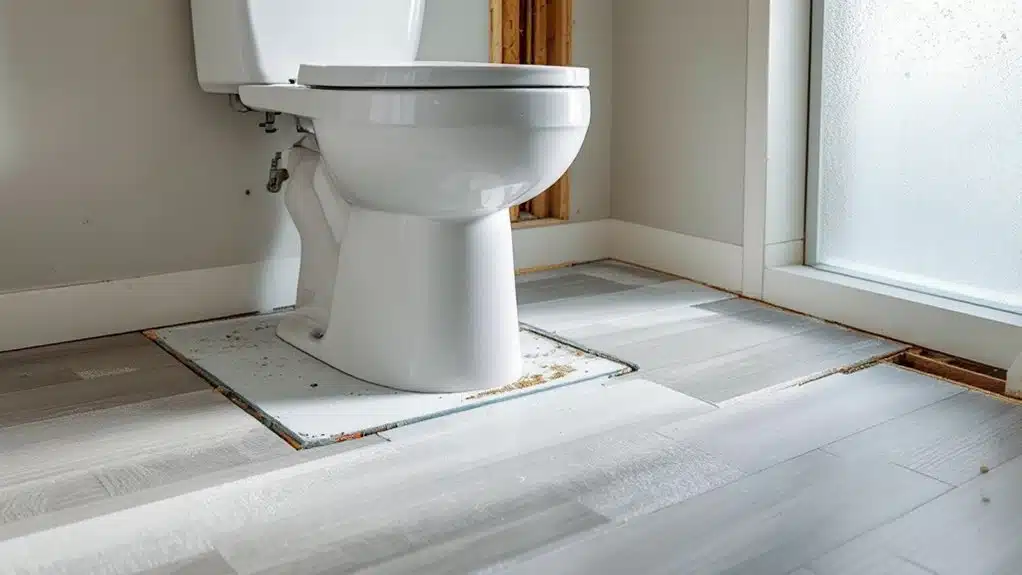
Removing the toilet gives LVP planks the clearance they need to expand and contract freely beneath and around the flange area. These toilet removal benefits directly improve long-term flooring performance. Follow these LVP installation tips to maximize fit:
- Lay planks continuously under the toilet footprint for an uninterrupted flooring field.
- Maintain consistent expansion gaps around the flange without obstruction from the toilet base.
- Cut plank edges cleanly around the flange collar for a precise, professional fit.
- Reinstall the toilet onto a wax ring sized appropriately for the new floor height.
LVP’s superior water resistance makes it an ideal choice for bathroom installations where moisture exposure is a constant concern. You’ll eliminate stress points that cause buckling, gapping, or cracking over time. Every client you serve deserves a floor installed with this level of structural integrity.
Step-by-Step: How to Remove a Toilet Before Your LVP Install
Taking the toilet out before your LVP install is a straightforward five-step process you can complete in under an hour with basic tools. Follow these toilet removal tips carefully to protect both the toilet and your subfloor.
- Shut off the water supply at the valve behind the toilet.
- Flush to empty the tank and bowl completely.
- Disconnect the supply line using an adjustable wrench.
- Remove the bolt caps and nuts securing the toilet base to the floor flange.
- Lift the toilet straight up, then set it aside on cardboard.
These bathroom renovation necessities help you maintain a clean work area and protect your flange. Stuff a rag into the open drain to block sewer gases during installation.
When Working Around the Toilet Actually Makes Sense
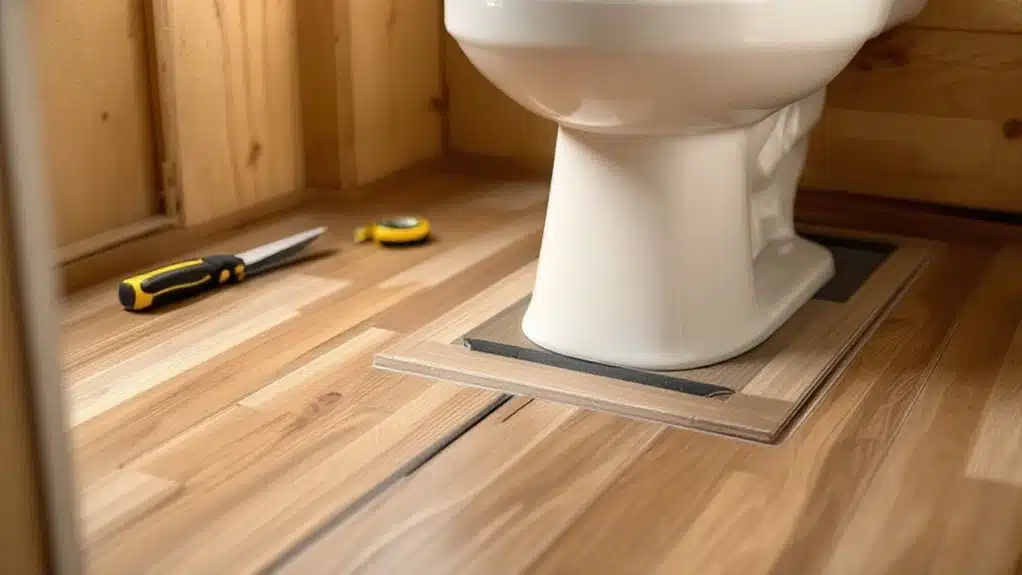
While removing the toilet is the cleaner approach, there are situations where working around it makes more sense. During a bathroom renovation, practical constraints can shift your toilet installation strategy.
Consider working around the toilet when:
- The toilet is newly installed — removing it risks damaging a fresh wax seal or flange connection.
- Budget is limited — skipping removal reduces labor costs and project time.
- The subfloor is fragile — repeated toilet removal increases stress on aging flanges.
- You’re installing LVP in sections — cutting planks precisely around the base achieves acceptable results in low-traffic bathrooms.
If you choose this route, cut carefully around the toilet base, maintain tight seams, and use flexible caulk to seal edges against moisture infiltration.
Frequently Asked Questions
Can LVP Be Installed Directly Over Existing Tile in Bathrooms?
Yes, you can install LVP directly over existing tile, skipping tile removal entirely. This method maximizes LVP advantages, saving you time and labor, provided the tile’s surface remains flat, secure, and free of damage.
How Long Should LVP Acclimate Before Bathroom Installation Begins?
72% of flooring failures stem from improper acclimation. You’ll want a 48-hour acclimation period before starting. Follow these installation tips: store LVP flat in the bathroom, maintaining 65-85°F temperatures to guarantee dimensional stability.
What Subfloor Moisture Levels Are Safe for Bathroom LVP Installation?
You’ll want moisture testing to confirm your subfloor reads below 3 lbs per 1,000 sq ft using a calcium chloride test. During subfloor preparation, address readings above this threshold before installing bathroom LVP.
Does LVP Thickness Affect Toilet Flange Height After Installation?
Yes, LVP thickness absolutely affects your toilet flange height. Thicker planks raise the floor, so you’ll need flange extenders as key installation tips to keep your toilet flange flush and properly sealed.
How Do You Seal LVP Edges Near Bathtubs and Shower Areas?
Apply silicone caulk along LVP edges near bathtubs and showers to create waterproof barriers. You’ll guarantee edge sealing by pressing caulk firmly into gaps, preventing moisture intrusion and protecting your clients’ flooring investment effectively.
Conclusion
Removing your toilet before installing LVP isn’t the glamorous part of your renovation—but it’s the step that actually determines whether your floor looks professionally done or suspiciously improvised. You’ll spend thirty minutes on removal, yet save yourself years of buckling, gaps, and callbacks. Skip it if you enjoy cutting awkward notches around a porcelain base and explaining why your expensive flooring already looks compromised. Otherwise, disconnect the supply line and grab your wrench.