
Should You Replace Floors Before or After Painting?
You should always paint before you replace your floors. Painting first eliminates the risk of drips, splatters, and spills landing on your brand-new surfaces. It lets you apply primer and multiple coats confidently without worrying about damaging finished flooring. Getting the sequence wrong forces costly repairs, touch-ups, or even full replacements. The standard rule saves you time and money—but there’s more to the story depending on your flooring type and situation.
Key Takeaways
- Painting before installing new floors eliminates the risk of paint drips, spills, and splatters damaging finished flooring surfaces.
- Flooring type matters: paint hardwood floors first, install tile first then paint, and assess vinyl based on baseboard placement.
- Incorrect sequencing forces costly rework, contractor callbacks, and transforms simple renovations into reactive damage control cycles.
- The recommended renovation sequence is: structural repairs, ceiling, walls, trim, then complete flooring installation last.
- Painting first saves $100–$500 by eliminating the need for protective coverings, tape, and post-project cleaning fees.
Paint First, Then Floors: The Standard Rule Explained
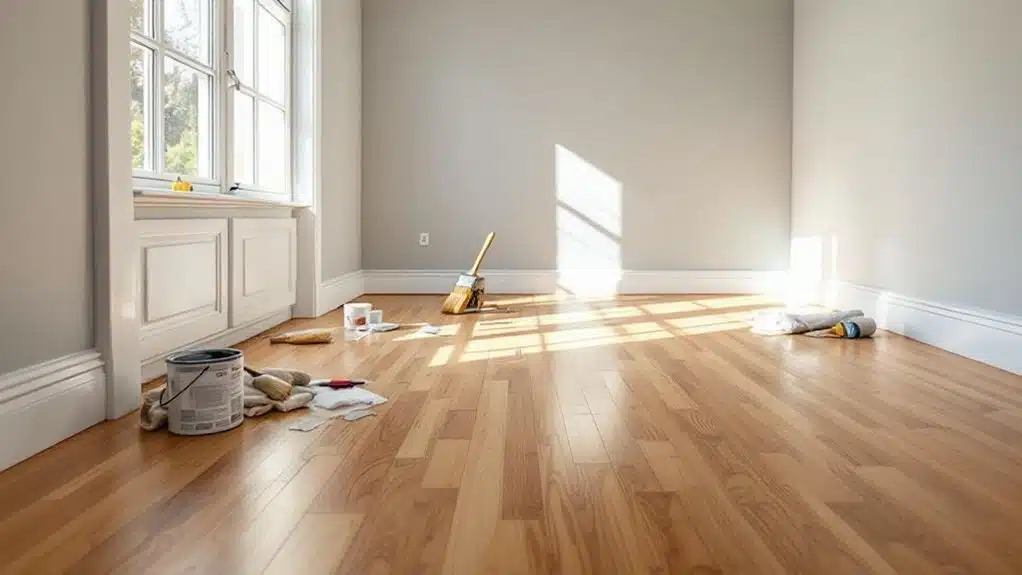
When tackling a full room renovation, painting before installing new floors is the approach most contractors and seasoned DIYers swear by. You eliminate the biggest risk immediately — drips, spills, and roller splatter landing on your new flooring investment.
Paint durability depends partly on proper application, and that means working freely without worrying about protecting finished surfaces below. You’ll apply primer, multiple coats, and edge work confidently when bare subfloor sits underneath.
Once painting’s complete and fully cured, your new flooring installation goes in cleanly. Floor aesthetics remain uncompromised as you’re not scraping dried latex off fresh hardwood or wiping overspray from luxury vinyl planks.
This sequence protects your materials, reduces labor time, and delivers cleaner results — exactly what your clients or household deserves from a well-executed renovation. After installation, remember that regular cleaning routines tailored to your specific flooring material will help preserve your investment and maintain the beauty of your newly renovated space.
Why Getting the Sequence Wrong Costs You Time and Money
Reversing the sequence — floors first, painting second — creates cascading problems that drain your budget and extend your timeline fast. Paint drips, roller splatter, and scuff marks land directly on your new flooring. You’ll either sand them out, touch them up repeatedly, or replace damaged sections entirely. Each fix multiplies your labor hours and material costs.
Poor timing strategies similarly force you into awkward workarounds — masking expensive hardwood, repositioning furniture twice, or calling contractors back for corrective work. Those callbacks aren’t cheap. Implementing maintenance tips to preserve your flooring investment becomes significantly more difficult when paint damage occurs during the renovation process.
The cost implications compound quickly. What started as a straightforward renovation becomes a reactive cycle of damage control. Getting the sequence right from the beginning isn’t perfectionism — it’s protecting your client’s investment, your reputation, and the project’s integrity.
How Hardwood, Tile, and Vinyl Each Affect the Order
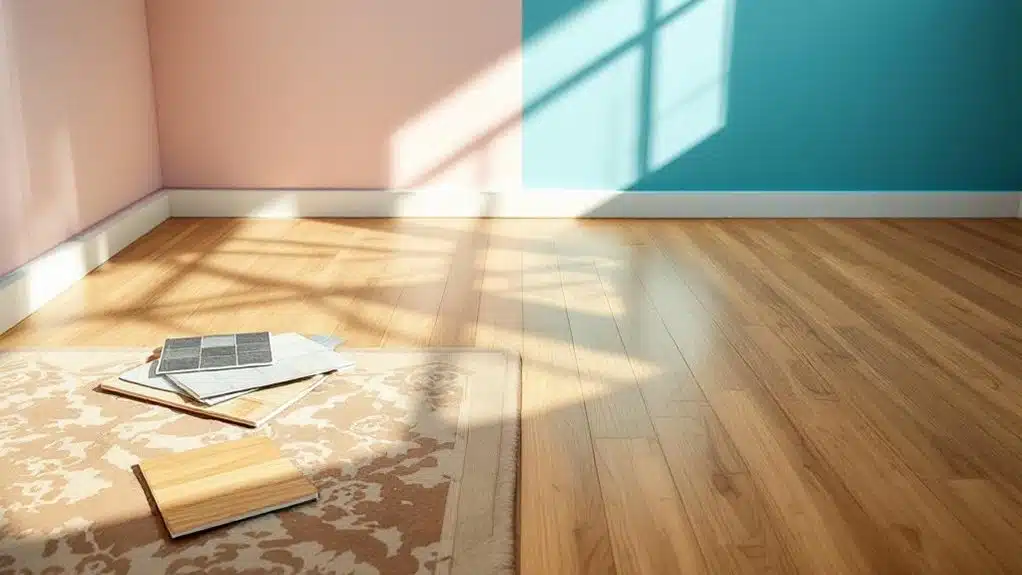
Each flooring type pulls the sequencing decision in a different direction, so you can’t apply a single rule across hardwood, tile, and vinyl. Hardwood needs time to acclimate and gets scratched easily, which means you’ll almost always want to finish painting before it goes down. Tile work introduces wet mortar and grout that can splash walls, while vinyl’s flexibility lets you shift the order based on your specific job conditions. Luxury vinyl plank offers the additional advantage of being scratch-resistant and waterproof, making it a forgiving choice for either painting or flooring installation order.
Hardwood Installation Timing Matters
The type of flooring you’re installing should drive your sequencing decision more than anything else. Hardwood trends toward wider planks and floating installation techniques have changed how contractors approach project sequencing. As hardwood expands and contracts with humidity, you’ll want to acclimate it in the space before installation. That means the room needs to be enclosed, climate-controlled, and largely finished before the flooring goes down.
Install hardwood after drywall and priming but before final paint coats. This way, your painter can cut in cleanly at the floor line without guessing where the finished floor height will land. You’ll protect the wood from paint drips, and your painter won’t have to tape around baseboards that haven’t been set yet. Sequencing this correctly saves everyone rework time. Hardwood’s durability and long-lasting nature means that getting the installation sequence right from the start will protect your investment and ensure your floors maintain their structural integrity throughout the years.
Tile Work Sequence Considerations
Tile behaves differently than hardwood, and that difference forces a different sequence. Tile installation timing is more forgiving due to the fact that tile doesn’t expand or contract with humidity changes the way hardwood does. You can install tile before painting without significant risk.
However, grout application order matters. Grout haze is stubborn, and if you’re not careful, it transfers onto freshly painted walls during cleanup. You’ll scrub harder than you should, and that scrubbing damages paint edges near the floor line. Proper grout sealing protects against moisture and stains while maintaining the aesthetic quality of your installation.
The smarter approach: install tile first, let it fully cure, then paint walls last. Mask the tile edges carefully before you roll paint. This sequence protects your grout lines, preserves your wall finish, and saves whoever lives in that space from unnecessary touch-up work later.
Vinyl And Paint Order
Vinyl is the most forgiving of the three materials when it comes to sequencing with paint. Its vinyl durability makes it resistant to minor paint drips and scuffs, giving you more scheduling flexibility. Nevertheless, you’ll still want a clear strategy for paint compatibility:
- Install luxury vinyl plank first if your baseboards sit directly on the flooring surface, since you’ll need accurate measurements for trim painting.
- Paint walls and ceilings first if you’re using sheet vinyl, which can trap fumes underneath and affect adhesion.
- Apply floor finish last when using vinyl tiles with painted baseboards, protecting your edges from roller splatter.
Vinyl’s forgiving nature doesn’t eliminate sequencing mistakes—it simply reduces their consequences. For optimal results with luxury vinyl plank installations, consult with experienced professionals who can guide you through the entire project timeline. Plan deliberately, and you’ll protect both surfaces effectively.
When Installing Floors Before Painting Actually Makes Sense
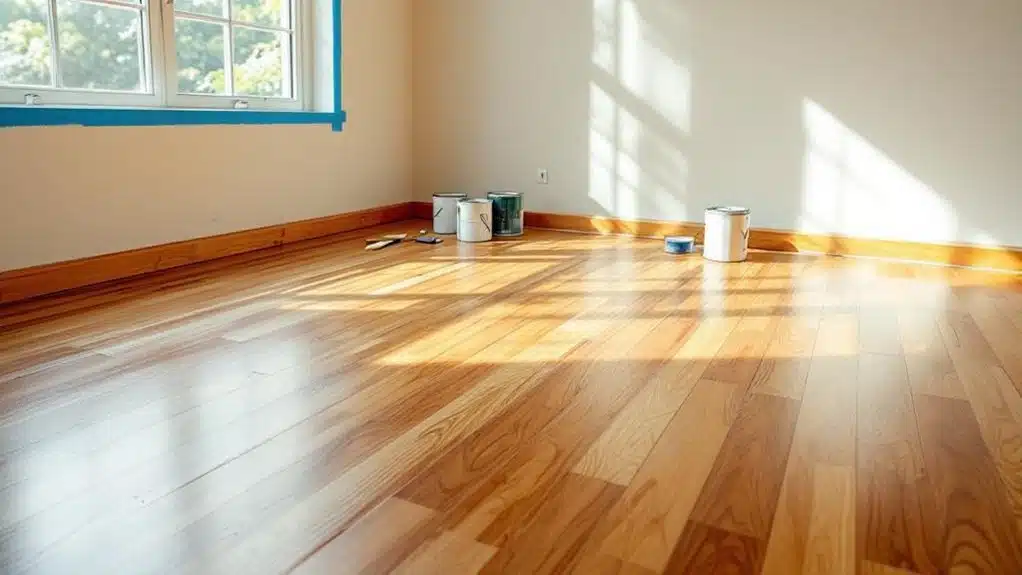
While painting first is usually the smarter move, there are specific scenarios where installing floors beforehand actually makes more sense. If you’re working with natural hardwood or stone, your floor preparation process can reveal undertones that directly influence your color selection for walls and trim. Seeing the actual installed material helps you match tones more accurately than guessing from small samples.
Installing floors first likewise makes sense when you’re working in occupied spaces where clients or family members need access between project phases. You’ll eliminate trip hazards and protect subfloors from foot traffic damage. Moreover, if your flooring contractor has a tight scheduling window that won’t reopen for months, prioritizing their work prevents costly project delays. Quality flooring choices can significantly impact your home’s overall value, making it worth coordinating installation timing carefully. In these cases, careful masking and drop cloths become your best protection strategy.
How to Protect New Floors If You Must Paint Afterward
If you’ve already installed new floors and can’t avoid painting afterward, you’ll need to take protective measures seriously. Cover every inch of exposed flooring with heavy-duty rosin paper or canvas drop cloths, and use painter’s tape along the baseboard edges to prevent paint from seeping underneath. Clean any spills immediately—wet paint that sits on hardwood, luxury vinyl, or laminate can cause staining, warping, or adhesion issues that are costly to fix. Avoid using excess water or wet cleaning methods on freshly painted floors, as moisture can damage the paint finish and compromise the integrity of the new flooring beneath.
Use Protective Floor Coverings
When painting after new floors are already installed, protective coverings are your first line of defense against drips, spills, and scuffs. Choosing the right floor coverings and protective measures guarantees your clients’ investment stays intact throughout the project.
Here are three basics:
- Ram Board or hardboard panels – Place these over hardwood or luxury vinyl to handle foot traffic and tool movement without surface damage.
- Canvas drop cloths – Position them along baseboards and trim areas where paint drips are most likely. Avoid plastic sheeting, which traps moisture.
- Painter’s tape with floor protection film – Secure edges tightly to prevent paint from seeping underneath onto finished surfaces.
Check coverings frequently during the job, repositioning them as needed to maintain full coverage. Additionally, monitor humidity levels throughout the painting process to ensure environmental conditions don’t compromise the integrity of your newly installed floors.
Tape Edges Carefully
Floor coverings protect large surface areas, but the edges and seams where floors meet walls are where paint damage most often happens. Your tape techniques and edge precision determine whether your new floors stay flawless. For pet owners selecting flooring materials, choosing durable hard surface options like luxury vinyl or tile can make cleanup easier if paint accidents occur during the painting process.
| Tape Location | Why It Matters |
|---|---|
| Wall-to-floor seam | Prevents drips from seeping under |
| Connecting strips | Protects vulnerable edge material |
| Door thresholds | High-traffic drip zones |
| Baseboard gaps | Paint wicks into flooring fibers |
Press tape firmly using a putty knife to eliminate air pockets. Use painter’s tape rated for your specific floor material—some adhesives damage luxury vinyl or hardwood finishes. Remove tape at a 45-degree angle while paint is still slightly wet to avoid peeling dried paint onto your new surface.
Clean Spills Immediately
Paint spills on new flooring aren’t a matter of if—they’re a matter of when, so you’ll need a response system ready before you open the first can. Fast action separates a minor inconvenience from permanent damage. These cleaning techniques work only if you execute them immediately:
- Blot, don’t rub—rubbing spreads latex paint deeper into seams and grain lines.
- Use warm water first—for fresh spills, warm water removes most latex paint without chemical damage.
- Apply painter’s solvent carefully—for dried drips, use a manufacturer-approved solvent sparingly to avoid finish damage.
Spill prevention starts before painting—lay drop cloths, seal floor edges with tape, and keep a damp cloth within arm’s reach throughout every session.
What You Can Learn From How Contractors Sequence the Work
Most professional contractors follow a paint-first, floors-last sequence for one simple explanation: it’s the most efficient way to protect finished work. Their contractor preferences aren’t arbitrary — they’re built from repeated experience managing costly mistakes. Painting over bare subfloor means no masking, no drop cloths, and no accidental drips ruining expensive material. Project efficiency improves greatly as crews can move freely, work faster, and avoid the careful tiptoeing that installed floors demand. When you’re managing a renovation for someone else — whether a client, a family member, or a tenant — sequencing work the way contractors do reduces rework, saves money, and delivers a cleaner result. Watch how experienced tradespeople order their tasks, and you’ll understand why this sequence has become standard practice.
The Hidden Costs of Painting After New Floors Are Down
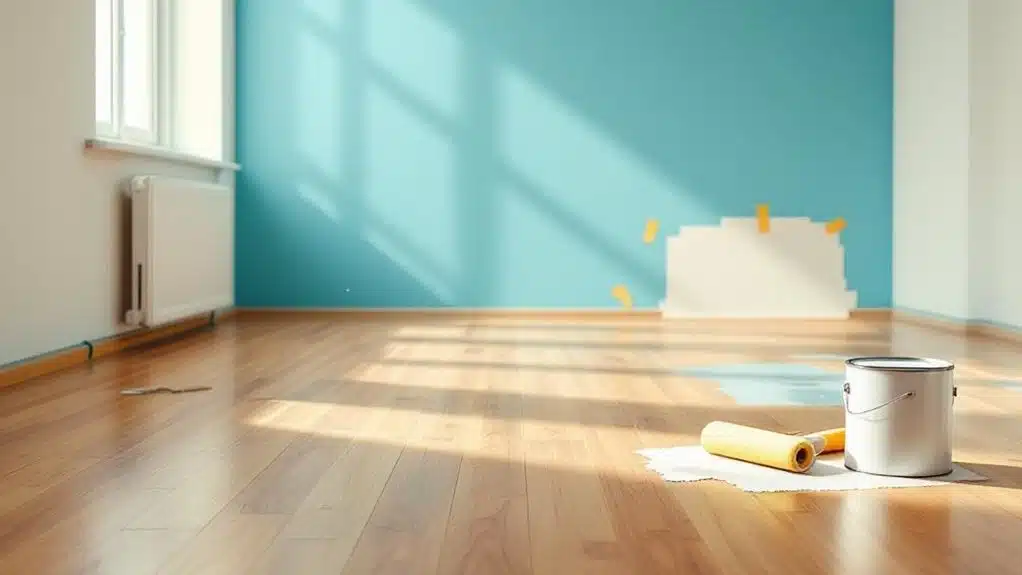
If you paint after your new floors are already down, you’ll quickly realize that protecting them properly isn’t cheap—heavy-duty floor coverings, tape, and rosin paper add real money to your project. Even with careful prep, drips and spills happen, and a single errant splash of paint on fresh hardwood or luxury vinyl can mean costly repairs or permanent staining. You’re fundamentally paying extra to guard an investment that wouldn’t have needed protection if you’d simply painted first.
Floor Protection Costs More
Choosing to paint after your new floors are installed comes with hidden costs that most homeowners don’t anticipate. Floor protection materials aren’t cheap, and skipping them risks permanent damage. Here are three key cost considerations:
- Protective coverings — Quality rosin paper, canvas drop cloths, or ram board can cost $100–$300 depending on square footage.
- Tape and edge sealing — Painter’s tape along baseboards and floor edges adds $30–$60 per room to prevent bleed-through.
- Cleaning and repair fees — Paint drips on hardwood or luxury vinyl can require professional cleaning or board replacement, costing $200–$500+.
These expenses add up fast. Painting first eliminates the need for floor protection entirely, saving you both money and unnecessary stress during your renovation.
Drips Damage New Floors
Beyond the upfront cost of protective materials, there’s a subtler problem that hits harder: what happens when protection fails. Even with careful floor protection, paint drips find their way through seams, under tape edges, and around drop cloth gaps. On hardwood, a single drip can stain the finish permanently. On luxury vinyl, solvents in oil-based paints can cloud or warp the surface. Drip prevention requires constant vigilance, but you’re additionally managing brushes, rollers, ladders, and clients simultaneously. Mistakes happen. When they do on a brand-new floor, you’re facing repair or replacement costs that far exceed what you saved by reversing the project sequence. Painting first eliminates this risk entirely—any drips land on subfloor, which you’re replacing anyway.
Does the Same Rule Apply to Ceilings and Trim?
When it comes to ceilings and trim, the same general logic applies — paint them before you lay your new floors.
Ceiling painting and trim finishing both carry risks of drips, roller splatter, and brush marks landing on surfaces below. Completing these steps first protects your flooring investment.
Follow this order for best results:
- Paint ceilings first — splatter falls downward, so address the highest surfaces before anything else.
- Finish trim next — caulking and painting baseboards before floor installation gives you clean, precise lines without the risk of scuffing new material.
- Install floors last — slide them tight against finished trim for a polished, professional look.
This sequence saves time, reduces touch-ups, and delivers cleaner results for the clients you’re serving.
The Right Order to Renovate a Full Room From Top to Bottom
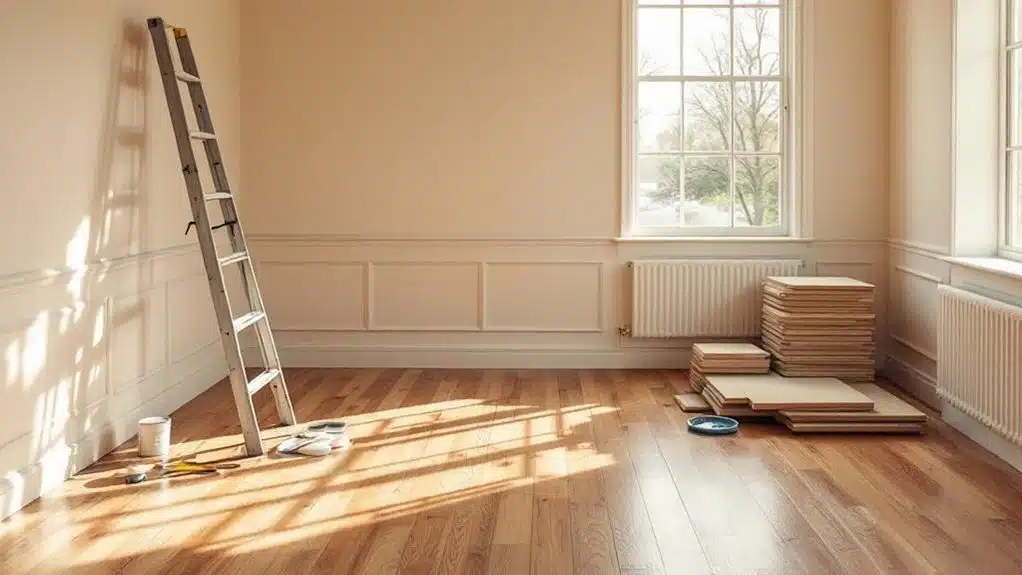
Tackling a full room renovation goes smoother when you follow a deliberate sequence from top to bottom. Your renovation timeline should begin with structural repairs, then move to ceiling work. Next, paint the ceiling, followed by walls. Once painting is complete, install trim and baseboards, leaving them unfinished temporarily.
Before finalizing your project planning, install new flooring last. This sequence protects each completed surface from damage caused by the work above it. After flooring is down, return to nail, caulk, and paint your trim for clean, professional edges against the new floor.
This top-to-bottom method minimizes rework, protects your materials, and keeps the job efficient. Following this order consistently helps you deliver a polished result every time.
Mistakes Homeowners Make When Timing Floors and Paint
Following a solid renovation sequence prevents costly mistakes, but even experienced homeowners get the timing wrong between floors and paint.
Watch out for these common errors:
- Skipping floor preparation before painting — Dusty, uneven subfloors contaminate freshly painted walls when contractors sand or level surfaces afterward, forcing touch-ups.
- Painting walls before protecting new flooring — Drips and spills damage finished floors when you rush painting techniques without proper drop cloths or temporary coverings already in place.
- Installing flooring before trim paint dries completely — Moisture from fresh paint transfers onto new floor edges, causing adhesion failures or staining along baseboards.
Each mistake adds time and money to your project. Planning your sequence carefully protects both your floors and your walls, delivering results that truly serve your household long-term.
Frequently Asked Questions
Can You Paint Over Existing Floors Instead of Replacing Them Entirely?
Yes, you can paint over existing floors! Proper floor preparation is key—clean, sand, and prime the surface thoroughly. You’ll maximize paint durability and save money, giving worn floors a refreshed, functional look your clients will appreciate.
How Long Should New Floors Cure Before Placing Furniture on Them?
Just as patience builds strong relationships, it builds strong floors. You’ll want to wait 24–72 hours before furniture placement, depending on floor type. Proper floor curing guarantees you’re serving your space—and others in it—for years.
Does Humidity or Season Affect When You Should Paint or Floor?
Yes, humidity levels and seasonal considerations absolutely affect your project timing. You’ll want to avoid high humidity, as it extends drying times. Temperature impacts adhesion and paint cure, so you’re best scheduling work during mild, stable conditions.
Should You Hire the Same Contractor for Both Flooring and Painting?
Sure, hire one contractor for everything — what could go wrong? In reality, splitting jobs optimizes contractor expertise. You’ll weigh cost considerations carefully, but specialized pros deliver better results, saving you costly mistakes and ensuring quality work throughout.
How Do You Match New Flooring to Existing Paint Colors Already Installed?
Bring a paint swatch to the flooring store to compare flooring color options directly. You’ll quickly identify paint compatibility by testing samples in your actual space under natural light before committing.
Conclusion
Getting the sequence right isn’t just a preference—it’s the difference between a sharp finish and a costly do-over. You’ll save yourself significant financial heartache by painting before your new floors go in. Think of fresh flooring as the final flourish, not the starting point. Once you’ve covered the walls, let the floors make their grand entrance. Stick to that order, and you’re protecting both your investment and your sanity.