What Moisture Testing Is and Why It Matters Before Installation
Moisture is the silent saboteur lurking within your materials before installation. You can’t see it, but it’ll wreak havoc on your project’s longevity. Moisture testing reveals what’s hidden, ensuring your concrete, wood, and drywall meet acceptable standards. Without this critical step, you’re gambling with structural integrity, mold growth, and costly repairs down the line. But there’s a systematic approach to getting it right.
Key Takeaways
- Moisture testing measures water content in materials using calibrated equipment before installation to catch potential issues early.
- Excess moisture causes flooring to warp, drywall to deteriorate, and insulation to lose thermal resistance and invite mold.
- Different materials require specific testing protocols—wood needs <12-14%, concrete needs <3 lbs/1000 sq ft daily emissions per standards.
- Testing should occur after delivery and again before installation, with final verification within 24 hours of application.
- Exceeding moisture thresholds requires delaying installation and implementing drying protocols to ensure long-term performance and durability.
How Moisture Testing Works

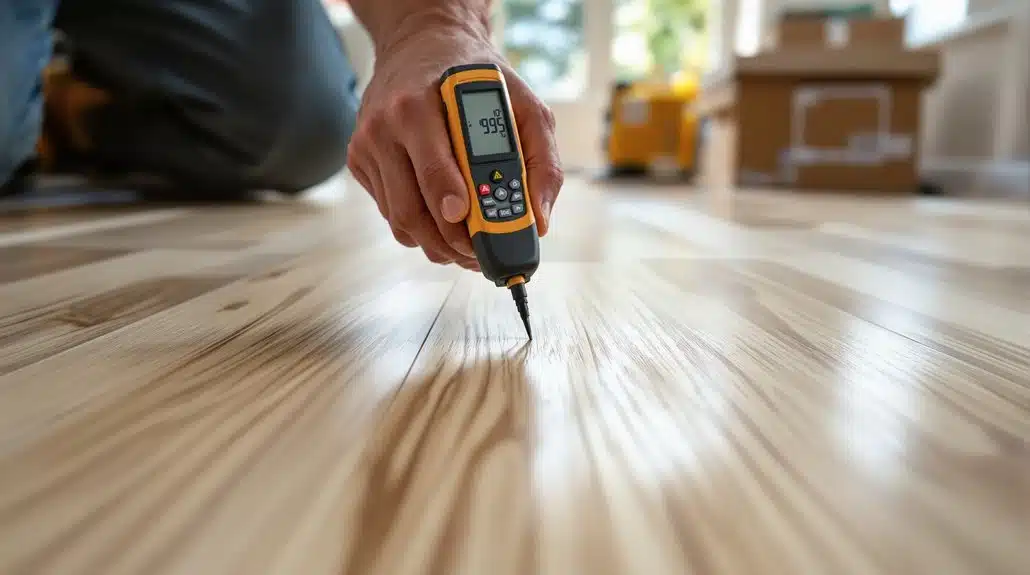
Moisture testing measures the water content within materials before installation using standardized methods that guarantee accurate, reliable results. You’ll use calibrated testing equipment to identify moisture levels in substrates like concrete, wood, and gypsum. These instruments provide immediate readings, allowing you to catch problems before they compromise your project.
Understanding moisture sources proves critical to your success. You’ll assess whether water originates from ground seepage, condensation, or construction processes. Different materials require specific testing protocols—concrete typically needs calcium chloride or in-situ relative humidity tests, while wood demands pinless or pin-type moisture meters.
You’ll document all readings meticulously, creating a baseline for comparison. This data-driven approach guarantees you’re installing materials only when conditions meet manufacturer specifications, preventing costly failures and protecting your reputation. For tile and stone installation, moisture testing is particularly crucial since these materials’ natural resistance to moisture depends on proper substrate preparation and appropriate moisture levels at installation time.
Why Moisture Damages Flooring, Drywall, and Insulation
Three critical building materials—flooring, drywall, and insulation—face distinct failure mechanisms when you expose them to excess moisture. Flooring absorbs water, causing warping, cupping, and buckling that compromises both aesthetics and safety. Drywall deteriorates rapidly, losing its structural integrity as moisture weakens the gypsum core and paper facing, inviting mold growth that spreads throughout your walls. Insulation becomes saturated, losing its thermal resistance properties while creating ideal conditions for mold colonization. When you allow moisture to penetrate these materials, you’re fundamentally creating pathways for biological and physical degradation. The consequences extend beyond visible damage—compromised structural integrity threatens occupant health and your building’s longevity. Water-resistant flooring options like luxury vinyl plank offer superior protection against moisture damage, preventing the warping and deterioration common in traditional materials. Proactive moisture testing before installation protects your investment and guarantees you’re serving occupants with safe, durable spaces.
Moisture Testing Standards by Material Type

Since each building material responds differently to water exposure, you’ll need to apply distinct testing protocols before installation. Different materials require tailored approaches to accurately assess moisture content and prevent future damage.
- Wood moisture: Measure using pin or pinless meters; target readings shouldn’t exceed 12-14% for most applications
- Concrete moisture: Test with calcium chloride or relative humidity methods; standards typically require below 3 lbs/1000 sq ft daily emissions
- Drywall and insulation moisture: Apply non-destructive testing equipment to detect saturation without compromising material integrity
You’ll reference industry standards like ASTM protocols to guide your testing equipment selection. Moisture mapping reveals environmental factors affecting different areas. For bathroom installations, porcelain and ceramic tiles offer excellent water resistance and durability when installed over properly tested substrates. This methodical approach guarantees you’re serving clients with installations built to last, protecting their investments against costly moisture-related failures.
When to Test: Pre-Installation Checklist
To establish a reliable testing timeline, you’ll want to conduct moisture assessments at several critical junctures throughout your project preparation. Begin testing immediately after material delivery to identify pre-existing moisture issues. Retest before installation commences, as environmental factors like humidity and temperature fluctuations greatly impact moisture levels during storage.
You should adjust your testing frequency based on local climate conditions and seasonal variations. In humid regions, increase testing intervals to catch moisture absorption early. Document all readings systematically to track moisture trends over time.
Schedule final verification testing within 24 hours of installation to verify conditions remain ideal. This methodical approach safeguards material integrity and installation quality, ultimately protecting both the project outcome and your clients’ satisfaction. Proper moisture testing is especially critical when installing waterproof flooring options like luxury vinyl plank or porcelain tile, which require stable subfloor conditions to perform optimally.
Reading Test Results and Making Installation Decisions
Once you’ve collected your moisture readings throughout the testing timeline, you’ll need to interpret them accurately and determine whether conditions allow installation to proceed.
Test interpretation requires comparing your measurements against manufacturer specifications. You’re evaluating installation implications by analyzing whether moisture levels fall within acceptable thresholds.
Consider these critical factors:
- Substrate type – Different materials have varying moisture tolerances; concrete demands stricter parameters than wood
- Environmental conditions – Temperature and humidity fluctuations affect readings and long-term performance
- Flooring material requirements – Laminate, hardwood, and vinyl each carry distinct moisture limits
If readings exceed recommended levels, you’ll delay installation and implement drying protocols. When conditions align with specifications, you’re confident that the substrate will support your flooring choice without premature failure. This systematic approach safeguards your client’s investment and guarantees professional results.
Conclusion
You’ll find that moisture testing isn’t merely preventative—it’s foundational. When you verify moisture levels before installation, you’re directly controlling whether your materials will perform as engineered. The theory holds: properly tested materials resist warping, mold, and degradation considerably better than untested ones. You’re applying scientific rigor to construction, ensuring every installation meets specifications and longevity standards. This systematic approach transforms moisture testing from optional procedure to non-negotiable requirement.